An Easy DIY to Add Faux Shiplap Panels to a Plain Wall!
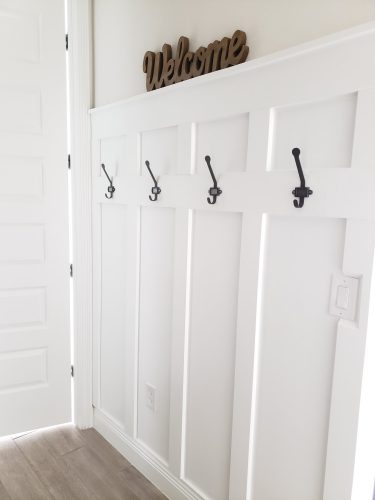
Making a focal wall in a room can seem hard, but I’m here to tell you anyone can do it! Just check out this post on installing simple Board and Batten. Adding any kind of feature wall adds so much character to a home!
I know the shiplap trend has been around for a while. Real shiplap can be costly and complicated to install. This faux shiplap version is easy, quick to install, and inexpensive!

Easy Faux Shiplap DIY
Since David has been working from home full time for the past year, I decided to design a built-in home office space in our loft. However, this blank wall needed something to make it stand out. Last year I added a faux shiplap wall in our master bathroom, and it was so simple I knew I could easily add it here as well. I thought this would be perfect for this nook!

Step One: Measure your wall
Begin by measuring your wall to see how many 4’x8′ boards you will need. This wall was 8 feet high by 11 feet wide, so I figured I would need 3 of these boards. The panels are 1/4 inch thick and are referred to as luan, utility panels, or underlayment. They are lightweight and, when cut into strips, look just like shiplap panels.
Another big selling point of using these underlayment panels is you can choose however wide you want your shiplap strips to be. I chose 6 inches but you could go thinner or wider depending on the look you want. You can have the guys at the hardware store rip the panels down to the size you want, or do it at home with a table saw. In my case, the saw at the store was out of service so we cut the panels at home.
This post contains affiliate links. This means I may earn a commission should you choose to make a purchase using my link to Amazon.com. I only recommend items that I personally love!

When I added shiplap to our bathroom wall, I only used 2 panels since the wall was 8 feet by 8 feet. This wall was done in one day, since it didn’t require any special cuts around outlets or window frames. And it completely changed the room!
Step Two: Prep the wall
To prep your wall, all you need to do is remove any outlet covers and mark where the studs are located. This stud finder makes this part super simple. Some people just glue their panels to the wall, and others nail them in. I do a combo of both, so marking the stud lines shows you exactly where to add the nails. My Ryobi nail gun helps move this process right along.

Step Three: Begin adding the faux shiplap panels
Add your first line of panels by applying a thin layer of Liquid Nails, making sure the panels are level, and nailing into the studs.
Important Tip: Paint the bottom edge of the panels before installing each one. Then, once you add an entire row, paint the top side and the wall behind it with a brush. If you try to paint between the panels once they are installed, you will have a hard time getting the paint into the cracks and might end up getting clumps of paint in the spaces between the panels. This also eliminates the need to paint the entire wall prior to covering it with panels. If the wall color and the shiplap paint color are different you will see the wall paint color sneaking between the panels, painting as you go covers the differences in paint.


Tip: Use a nickel as a spacer between rows
Use nickels between rows for the perfect spacer. Glue the boards, level them, nail them in place, and remove the nickels. Continue this process, painting each row in between, until you get to the top row or until you have an obstacle to cut around like a window or outlet.
I staggered the boards so no 2 seams were lined up with one another, kind of how you would lay flooring. Cut each board to length with a circular saw or miter saw, and use the remaining piece to begin the next row.


Step Four: Cut around windows and outlets
Mark out where the outlets or windows will lie and cut the shiplap panels around them with a jigsaw. It doesn’t have to be perfect because the outlet cover will go back over the outlets, and you will caulk around the window.
Now you’re back to adding rows until you reach the ceiling! (I started painting the panels before putting them up, but this became time consuming. That’s why some of the boards in these photos are primed. It really doesn’t save any time so I stopped.)


Step Five: Add your trim
For the top trim I added a primed MDF 1×3″ since the boards didn’t go all the way to the ceiling. I also trimmed around the window with 1×2’s, and a 1×4″ along the top to frame it in.
Fill in the seams between boards with wood filler. Use caulk to patch in all the nail holes and around the sides of the walls and the trim. Then it’s paint, paint, and more paint! Use a roller and try not to make the paint so thick that it gets in between the boards. You want to keep those beautiful seams you worked so hard to get!

And voila, you’re done! Adding faux shiplap is an easy weekend project that makes a world of difference in a room. Stay tuned to see the rest of this loft transformation into a home office using repurposed Ikea furniture. 🙂
Great Work!
Tools I Use


That looks amazing! Great work! I may have to try this on some basement walls to give them some life! Thanks for sharing